On this page
Managing Image Size on the Sweet for ArcGIS Mobile App
When capturing or uploading photos in the Sweet for ArcGIS mobile app, you can choose to resize images to help reduce upload times and keep file sizes manageable. This is especially useful when working in areas with limited connectivity or when your organisation has attachment size limits.
Adding and Managing Attachments
When adding images or other files to a form or record, they will appear in the Attachments panel.
Within the panel, you can:
- Add new – Upload an existing photo or file from your device
- Capture a new image – Use the camera icon to open the in‑app camera and take a photograph directly
- Preview thumbnails of attached photos
- Delete attachments you no longer need using the bin icon

Note: The Attachments panel also supports a range of other file types, which will be displayed in the same list.
Setting a Default Resize Option (Mobile Preferences)
In the Preferences menu, you can choose a default image size for any new photos you capture within the app.
- Original – Full‑size image, largest file size
- Small (800px) – Smallest file size, quickest upload
- Medium (1280px) – Balanced quality and file size
- Large (2048px) – High‑quality image, larger file size
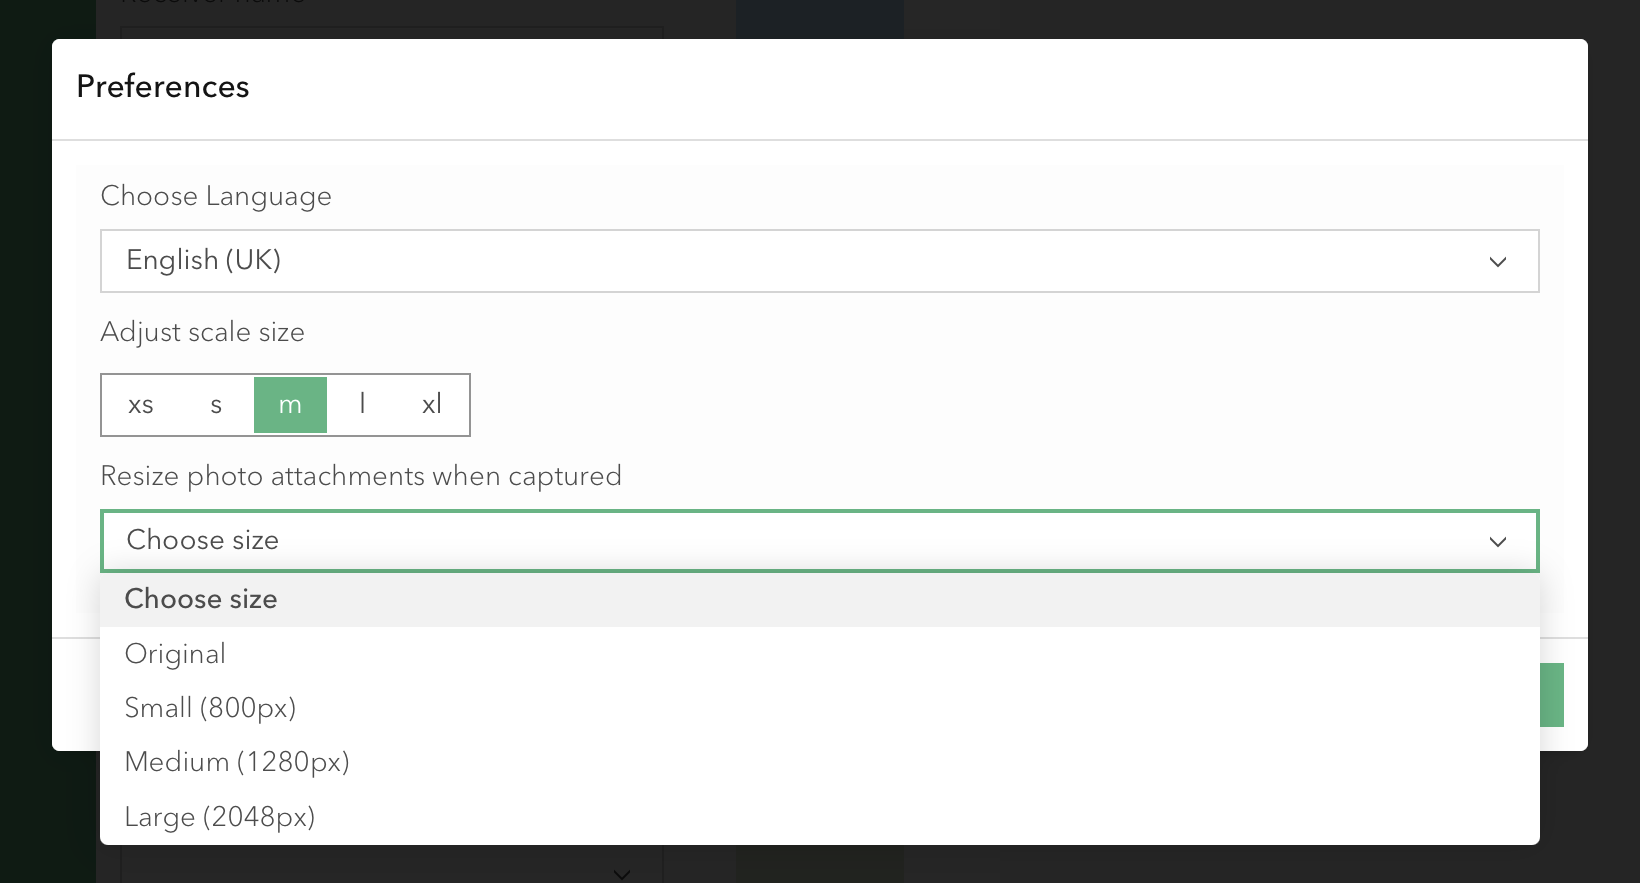
If you set a default, photos taken through the in‑app camera will automatically be resized to the selected option.
Large File Warning
If you try to upload an image that exceeds the app’s recommended file-size limit, a Large file warning will appear.
You can choose to:
- Continue with the full-size file, or
- Cancel and select a smaller version instead
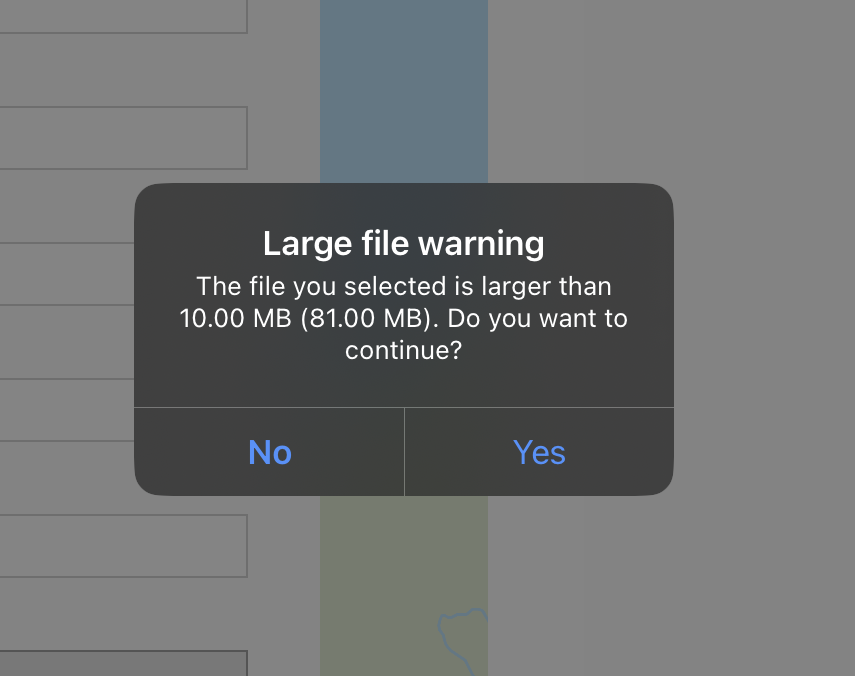
This ensures you remain in control of upload size and performance.
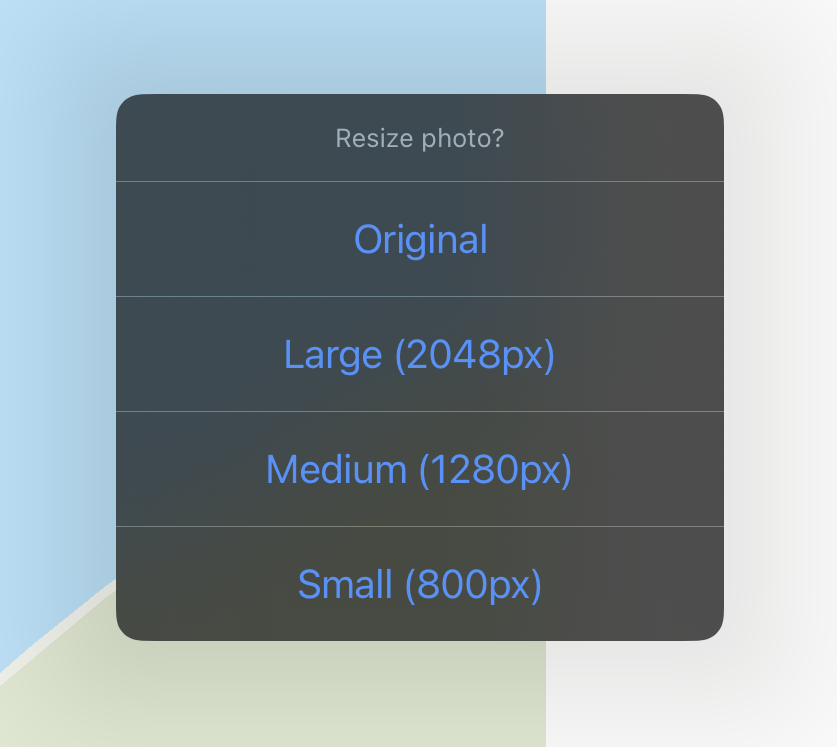
Choosing a Size When Uploading a Photo
If you haven’t set a default resize option – or if you’re uploading an existing photo from your device – the app will ask whether you’d like to resize the image before attaching it.
The options include:
- Original
- Large (2048px)
- Medium (1280px)
- Small (800px)